

On this page
Label a freely licensed anatomy model
Import an existing anatomical model into Blender, render two views, and add vector labels with Inklet. This example uses Visible Human Heart Vessels and Lungs, published by kbrowne on NIH 3D as 3DPX-023212, version 1.01, under CC BY 4.0.
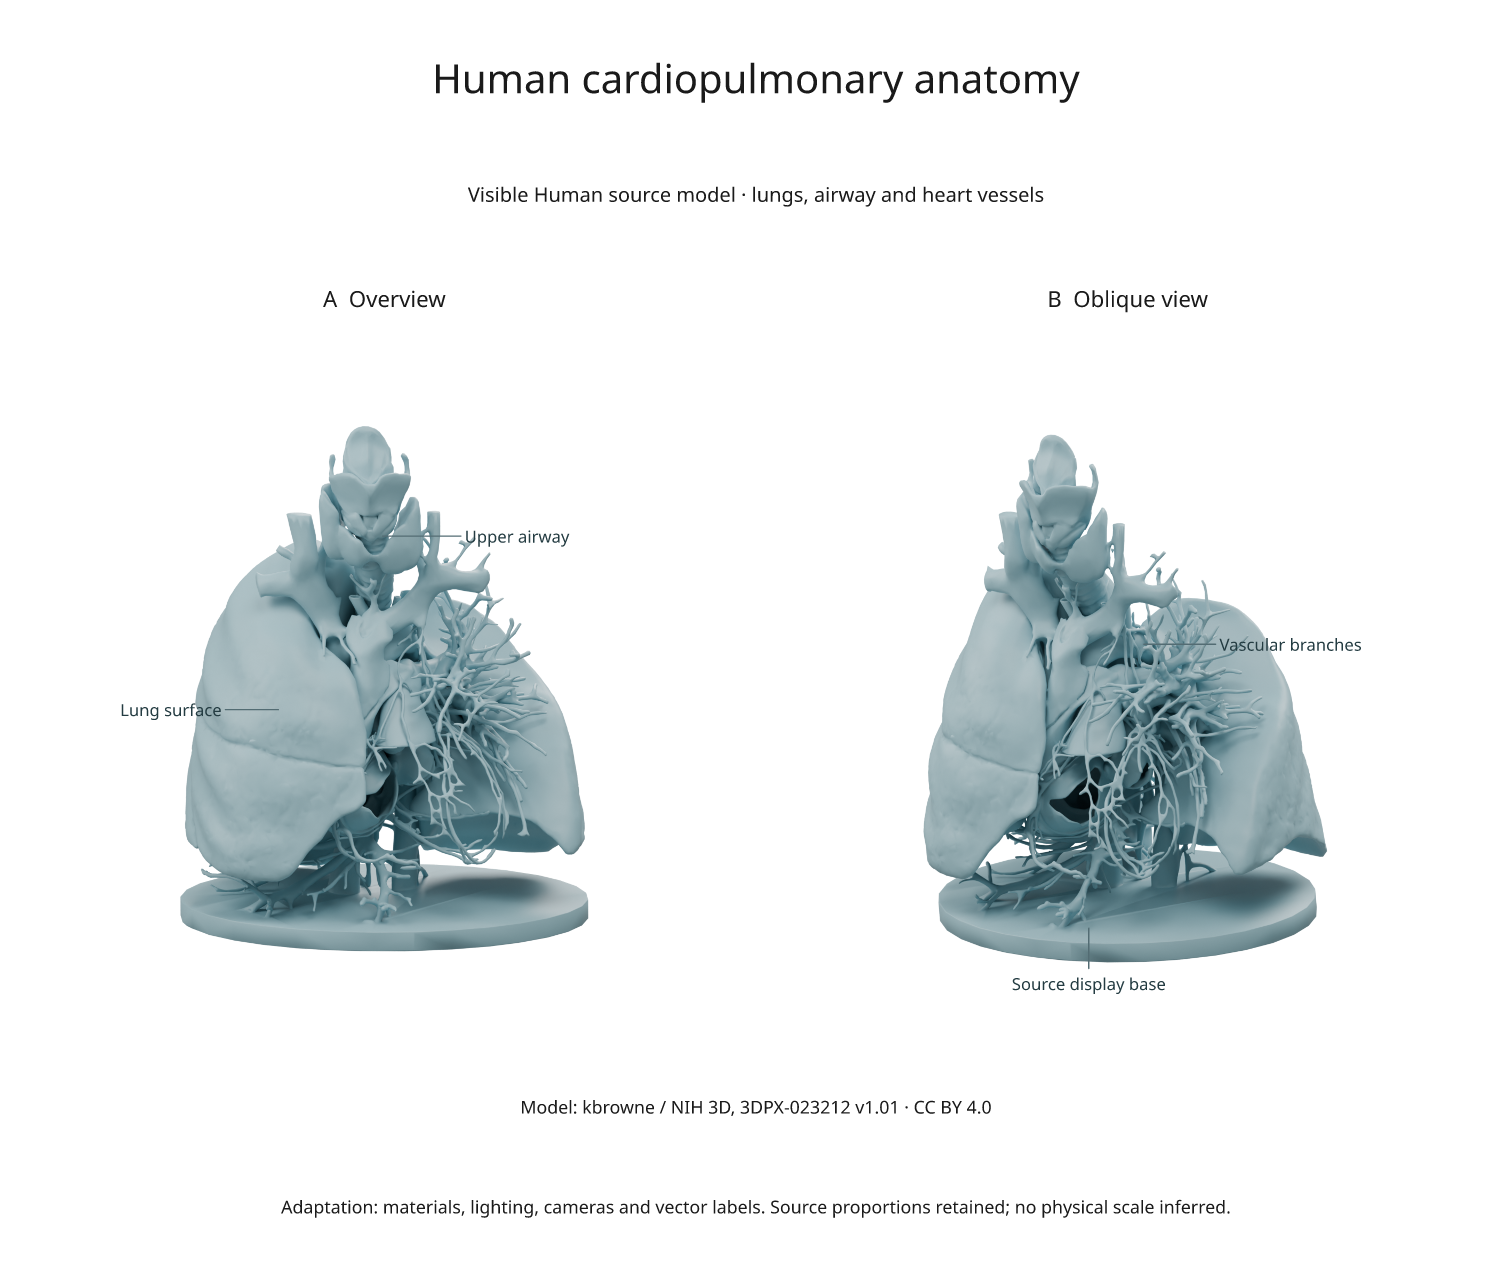
SVG · PDF · NIH source model · Recipe · Source manifest
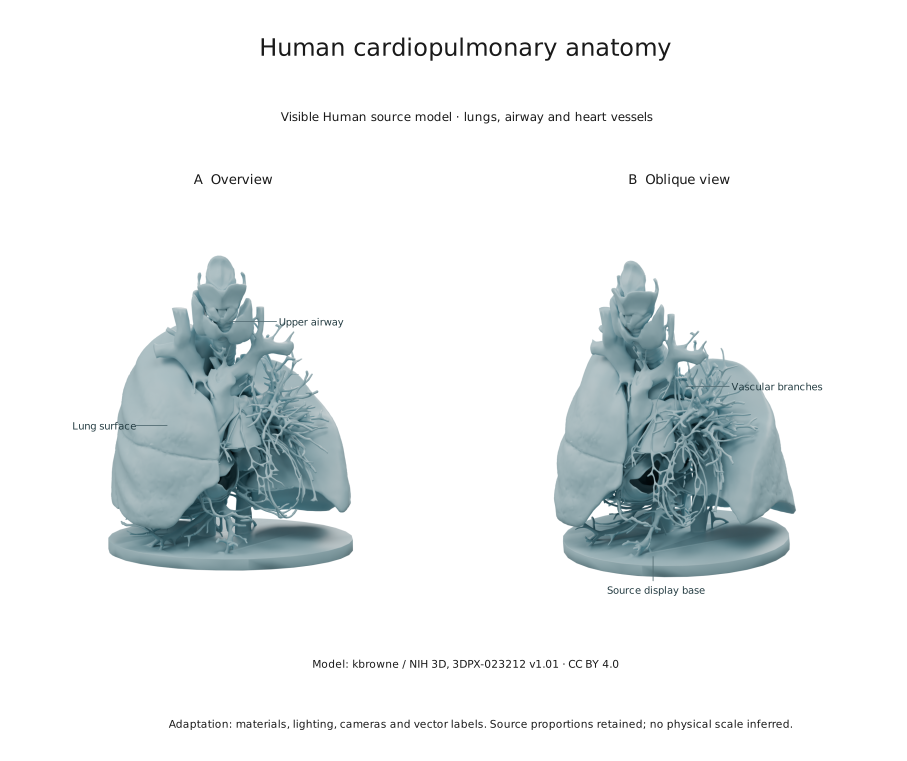
The source describes anatomy from the Visible Human male dataset. Its display base is retained and labelled separately. This is a source-derived model; material colour, lighting, cameras and explanatory labels are our additions.
Download and render
From a checkout, install the rendering extra and use Blender 4.5 LTS:
python -m pip install -e '.[render]'
python examples/open_anatomy.py --blender /path/to/blender
Omit --blender if Blender is discoverable. The first run downloads a 2.59 MB
GLB from NIH 3D. Later runs reuse the local file. Both new and cached files
must match the exact byte count and SHA-256 in the source manifest; mismatches
stop the build. No account or paid asset is required.
Outputs in out/open-anatomy/ include the source GLB, anatomy.blend, two
camera renders in Inklet's cache, SVG/PDF/PNG exports, attribution.json,
anatomy.anchors.json and review.txt. The example uses Cycles, 64 samples and
300 DPI. It was checked with Blender 4.5.13.
What the import changes
The Blender importer uses Blender's GLB importer, retains the mesh geometry and relative proportions, and assigns a blue-grey material. It adds an orthographic overview, an oblique camera and three area lights. The source's geometry is not simplified or reconstructed. Faces are assigned to two objects for the optional region highlight described below.
GLB-to-Blender import converts coordinate conventions. Label coordinates are
therefore recorded in the imported Blender world, not copied from a screenshot.
The script casts camera rays through authored target positions and records the
actual surface intersections in anatomy.anchors.json.
The labels identify broad structures. They do not claim individual vessel identities, tissue segmentation accuracy or patient-specific measurements. No millimetre scale is inferred from the normalized GLB coordinates.
Edit the labels
In make_document() in the figure recipe, edit the label text, side and
clear values. annotate3d() projects each stored surface point through the
corresponding rendered camera. The label uses 7.5-point text and a 0.22 mm leader.
overlay(..., align='origin') keeps it registered with the image.
The example uses hidden='show' for explanatory labels and records a depth pass.
Use hidden='omit' or hidden='dash' when the label should indicate whether its
target is visible. Recheck the labels after changing cameras. See
scene annotations for the full controls.
To change only the annotations, reuse the existing rendered results in
make_document(); the labels and leaders are vector overlays. The scene image
remains raster in SVG/PDF, while the text remains editable.
Highlight a selected region
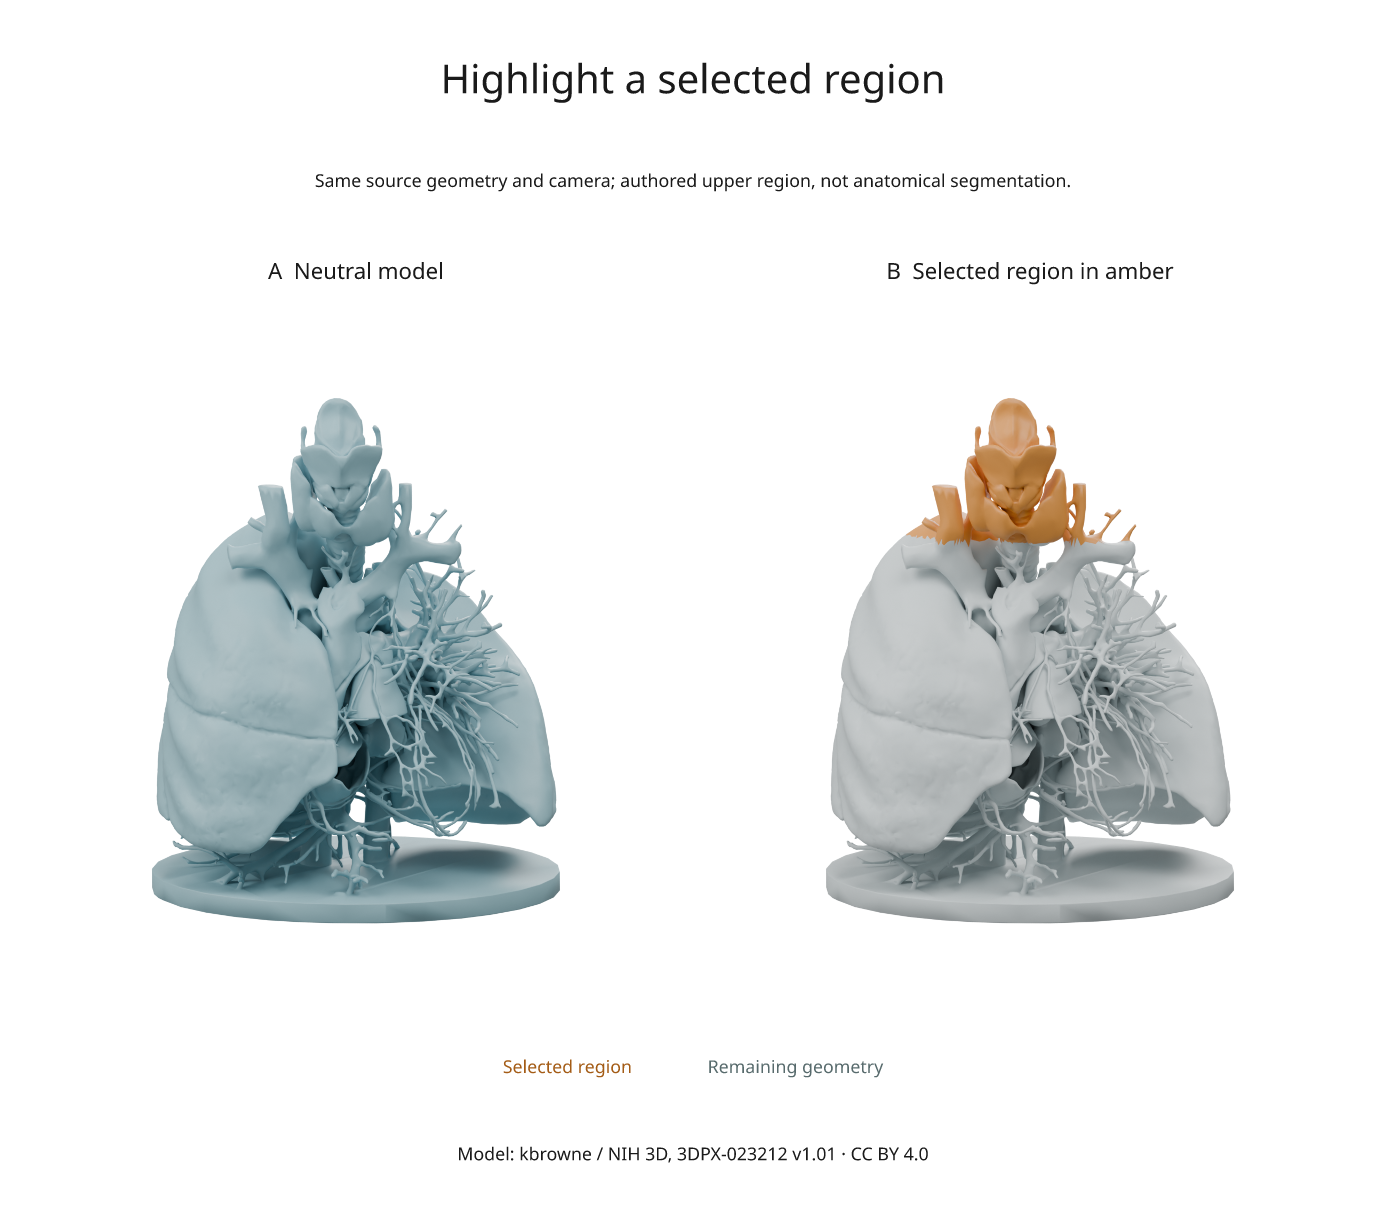
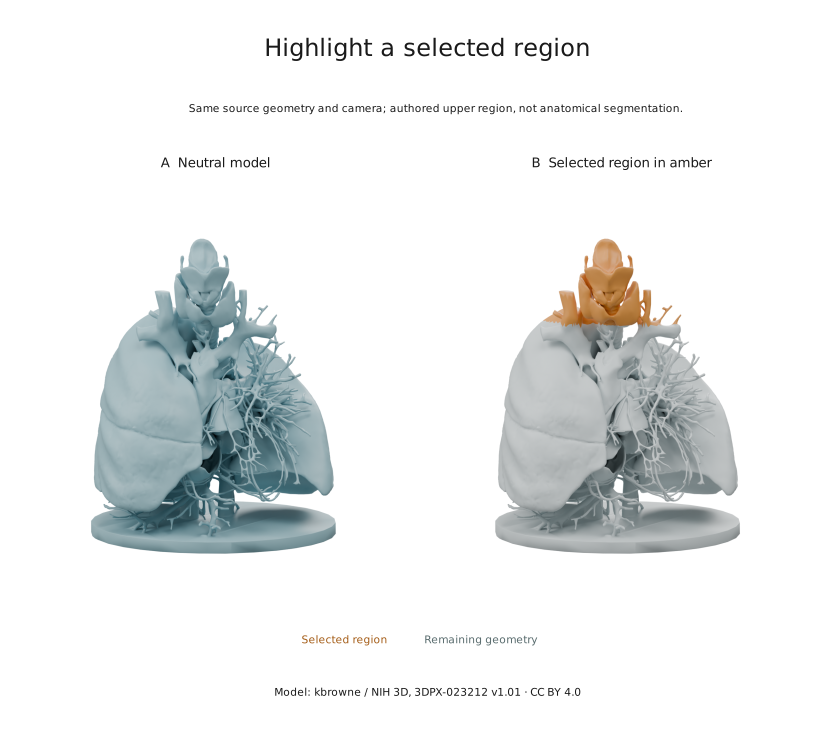
The example also exports highlight.svg, highlight.pdf and highlight.png.
Both panels use the same camera, lights and geometry. Only the object colours
change: the selection is amber and the remaining model is muted.
The source GLB is fused rather than divided into named organs. The importer
therefore makes an authored upper-region selection: faces whose centres have
z > 0.28 in the imported Blender world. It assigns these faces to Upper region
and the remainder to Context, preserving all source faces, vertex coordinates
and surface normals. This is a geometric selection, not an airway segmentation.
anatomy.selection.json records the rule and face counts.
Inklet's bindings applies colours to copied object materials when rendering:
import inklet as i

highlight = i.render_blend('out/open-anatomy/anatomy.blend',
    width=90, height=108, camera='Overview', engine='CYCLES',
    samples=64, dpi=300, passes=('depth',),
    bindings={
        'Upper region': {'color': '#d88b32'},
        'Context': {'color': '#c5d0d2'},
    })
doc = i.document(width=110, margin=8)
doc.add('highlight', highlight.diagram)
doc.compile().save('highlight-detail.svg', 'highlight-detail.pdf')
Change the colour strings to restyle the selection. The .blend file and the
previous neutral render stay unchanged. Material changes require a render;
vector-label edits can reuse the rendered image. If your source already has
named structures, bind those object names directly and omit the face-partition
step. Use inspect_blend() to list their names.
Reuse and attribution
Credit kbrowne / NIH 3D, link to the model and CC BY 4.0, and identify your changes when sharing an adaptation. The exported figure includes a short credit; the source manifest and third-party notices provide the complete source and license links. The derived figure assets in this guide are distributed under CC BY 4.0; the original Python example code is MIT.
For another model, use its own documented license rather than assuming every NIH upload has the same terms. Record the exact version, download URL, size and hash before adapting the acquisition step.
Related examples
- Real organelle scenes: microscopy segmentation meshes with source calibration and measurements.
- Fly-connectome figures: released anatomy and tables, rendered as native vector geometry.
- Synapse schematic: generated illustrative geometry for explaining a process, with no measured anatomical dimensions.